Coffee Jelly (コーヒーゼリー)
Coffee might not be the first flavor you think of when you think "Japanese desserts," but the caffeinated elixir was brought to Japan almost 400 years ago by the Dutch. It took a while before it caught on, but it has now gained more popularity than green tea. Coffee Jelly has a slightly shorter heritage, but it's a ubiquitous treat found in multiple varieties at convenience stores and supermarkets around Japan.
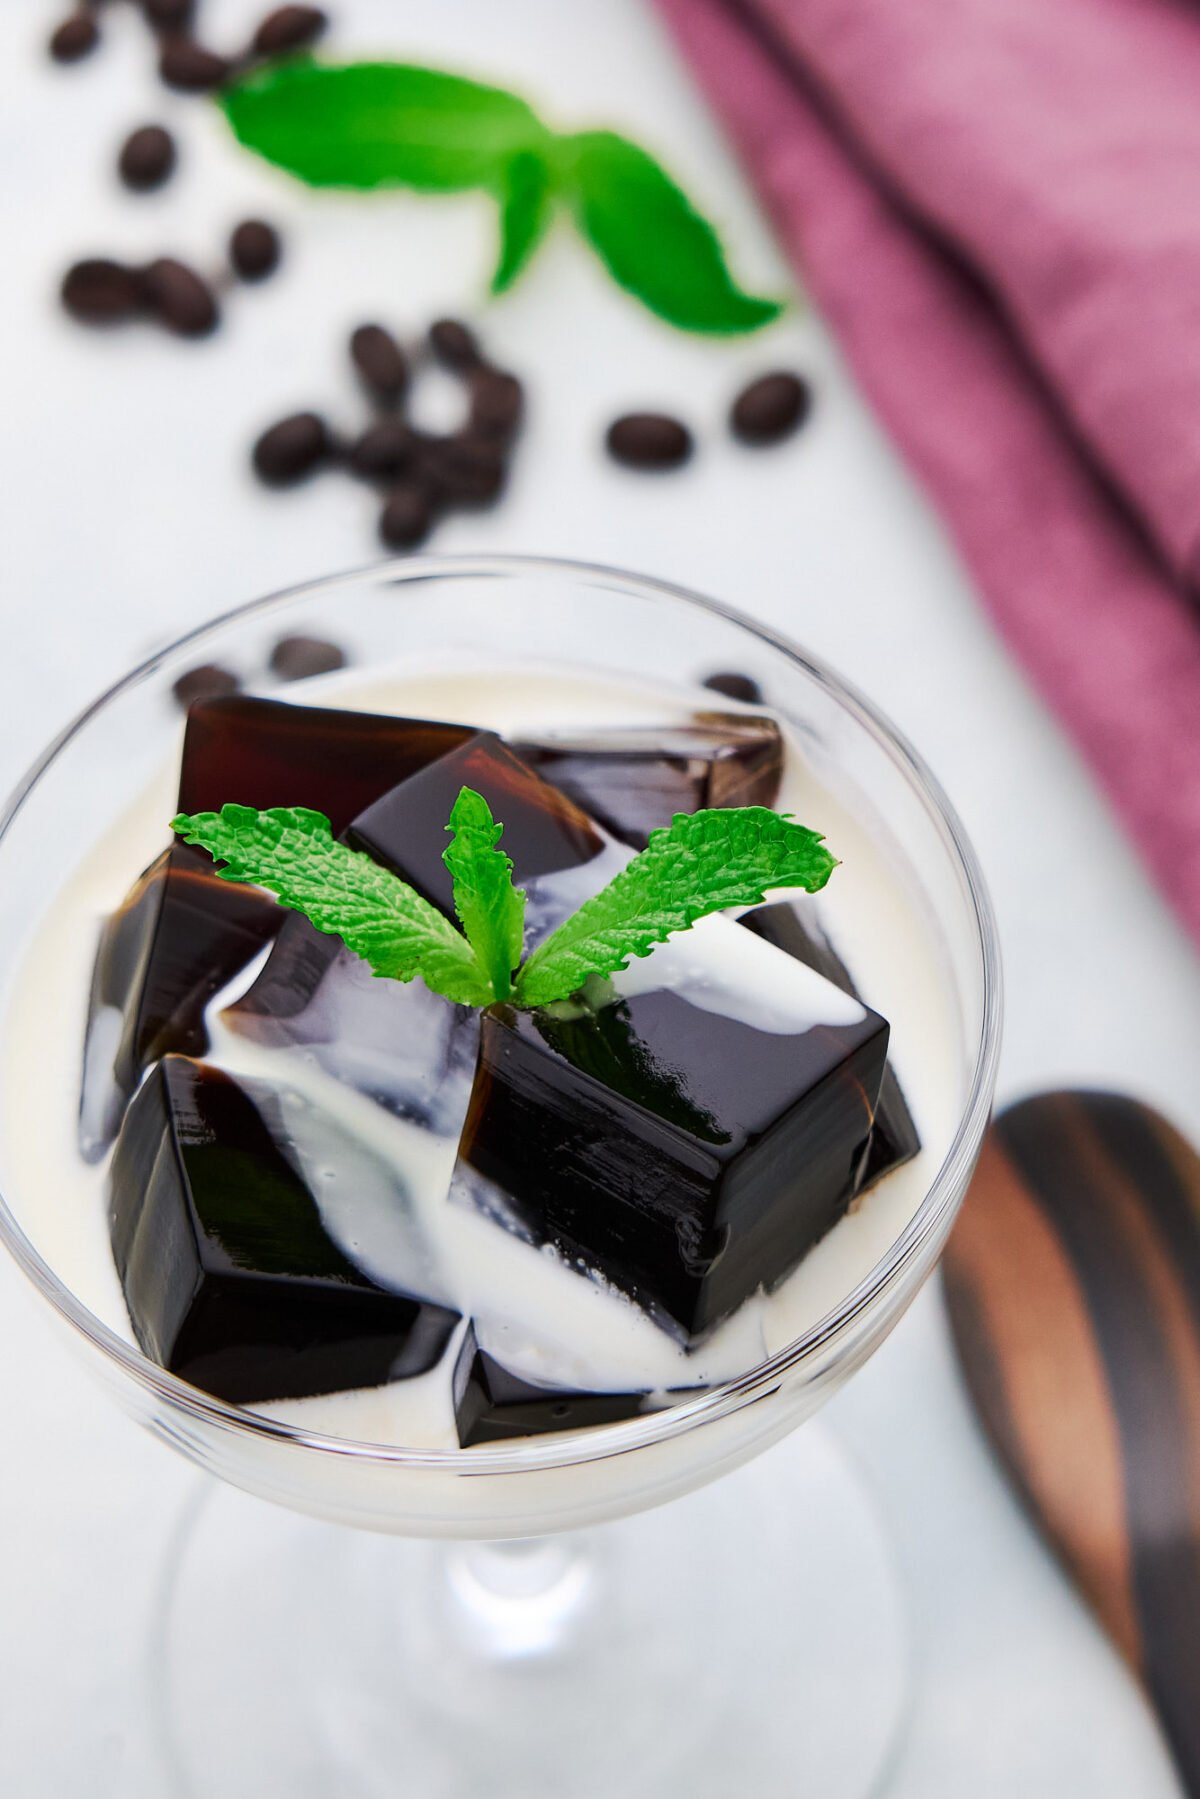
At its core, Coffee Jelly is just gelled iced coffee, cut into small cubes, and topped with sweetened cream, But the simplicity belies the blissful experience of eating your coffee instead of drinking it. The sweet cream blooms across your tongue, coating it in a thick layer of pure milky joy before the cubes of jelly burst into pools of black coffee that washes away the rich cream with a refreshing hint of bitterness.
Jump to:
Why This Recipe Works
- Agar-Agar (kanten powder) is the traditional gelling agent for making Coffee Jelly in Japan, but it can have a firmer texture than a jelly set with gelatin. To get around this, I use just enough agar-agar to set the jelly into a sliceable block. It's possible to reduce the amount even further, but different brands can have different thickening strengths. If you go too low, it won't set firm enough to cut, so I recommend starting with this amount the first time and adjusting it down with each batch until you get a texture that you're happy with.
- Using a high-fat cream and sweetening it with sweetened condensed milk results in a rich and milky sauce that tastes far more complex than the sum of its parts.
Ingredients for Coffee Jelly
- Coffee - The main ingredient for Coffee Jelly is coffee. I used a bottle of unsweetened black coffee, but instant coffee crystals or something fancier will work. Just make sure you like the taste of whatever coffee you use, as there aren't very many other ingredients here that will change the flavor.
- Agar-Agar (Kanten) - Agar-agar is a gelling agent extracted from seaweed, making it a plant-based alternative to gelatin. It gets its name because two components cause it to gel, agarose and agaropectin. It's thought to have been initially discovered in Japan about 370 years ago after an innkeeper left a pot of seaweed soup in the cold overnight and saw it had solidified the following day. It's since gone on to be a popular gelling agent around Asia and is a crucial ingredient in many traditional Japanese sweets. It used to come in long translucent dried blocks, but these days it's mostly sold as a powder, which I used for this recipe.
- Sugar - The cream poured on top is quite sweet, so you don't need to add a ton of sugar to the coffee jelly, but I recommend adding a little, or the blocks of jelly will taste a little bland. I used granulated sugar in my Coffee Jelly recipe because I wanted the jelly to be as translucent as possible, but you can use any sweetener you like.
- Cream - I usually drink my coffee black, but for this dish, the cream is essential. For me, this is what transforms blocks of solidified coffee into a dessert. I recommend using a cream with the highest butterfat content you can find (I used one that was 47%). If you want to make this plant-based, you can replace this with sweetened coconut cream.
- Sweetened Condensed Milk - Most recipes just call for adding sugar to the cream, but I like sweetening my cream with sweetened condensed milk. This gives it a wonderful milky flavor that takes this to the next level. If you can't find it or want to make this vegan-friendly, you can just use some sugar instead.

How to Make Coffee Jelly
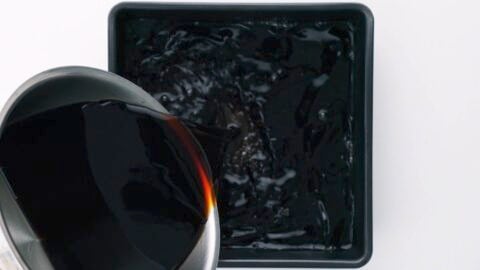
For the coffee jelly, add the sugar and agar agar to a saucepan and then pour the coffee in. Set the saucepan on a stove over medium-high heat and bring the mixture to a rolling boil, while stirring it. Be sure to use a heat-safe spatula and scrape the bottom of the saucepan to ensure you don't have any agar agar burning to the bottom.
Once the mixture comes to a full boil, pour it into an 8x8-inch square mold, like a baking dish. If you want to make smaller cubes you can use a large pan as well. Let this cool to room temperature and then cover it with a lid or plastic wrap and put it in the refrigerator to chill and set.
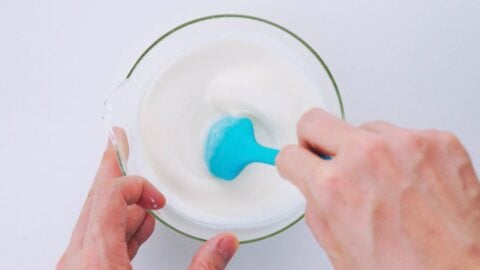
For the sauce, just mix the cream and sweetened condensed milk together in a bowl and pop it in the fridge to chill.
Once the Coffee Jelly has set, unmold it onto a cutting board. If you have trouble getting it out of the mold, you can release the suction holding it in by inserting a toothpick between the pan and the jelly and then running it along the edge, it should flop out almost immediately.
Slice the jelly into cubes and serve them in glass bowls or cups drizzled with the sweet cream. You can store the jelly in the fridge for a few days, but you might find a bunch of liquid has leached out of the jelly. This is normal and you can either serve it with the cream and jelly or, if you don't want to water down the cream, you can drain it off.
If you enjoyed this recipe, be sure to check out this article: 9 Asian Dessert Recipes.

Other Japanese Sweets Recipes
- Chocolate Mochi
- Butter Mochi
- Matcha Hot Chocolate
- Matcha Brownies
- Matcha Ice Cream
- Sweet Red Bean Soup
- Sata Andagi (Okinawan Donuts)
FAQ
Coffee Jelly is a dessert made by solidifying coffee with a gelling agent such as gelatin or agar-agar. It was most likely invented in the UK, but it was brought to Japan over a century ago. You don't see Coffee Jelly too much anymore in the West, but it's a ubiquitous dessert found in almost anywhere in Japan.
Coffee Jelly (コーヒーゼリー) is transliterated into Japanese as ko-hi-ze-ri and it's pronounced as follows:
ko like corner
hi like heal
ze like zen
ri like the “ri” sound does not exist in the English language and the best way to make it is to say the first part of the word "ream" with the tip of your tongue at the front of your mouth.
In Japan, Coffee Jelly is traditionally made with agar-agar (seaweed-based gelling agent), so the jelly itself is plant-based. Many packaged coffee jellies use gelatin these days, so you should check the ingredients if you are buying it pre-made. As for this recipe, the jelly is plant-based (assuming you use vegan-friendly sugar), but the sauce ingredients are not. You can substitute coconut cream sweetened with a bit of sugar or maple syrup.
📖 Recipe


Units
Ingredients
- 55 grams evaporated cane sugar (~¼ cup)
- 4 grams agar-agar powder (~2 teaspoons)
- 4 cups coffee
- ½ cup heavy cream (mine was 47% butterfat)
- ¼ cup sweetened condensed milk
Instructions
- To make the jelly, put the sugar and agar-agar powder into a pot and then add the coffee. Put the pot on the stove and stir it while bringing it to a boil.

- When the mixture comes to a rolling boil, remove it from the heat and pour it into an 8 x 8-inch mold (other similar sizes will work). Let this cool to room temperature, cover it, and put it in the refrigerator to fully set.
- To make the sauce, add the cream and sweetened condensed milk to a bowl and stir the mixture together until it's evenly combined. Keep the cream chilled in the fridge until you're ready to serve it.
- When the coffee jelly has been set, unmold it by inverting it onto a cutting board. You can run a toothpick along one edge of the mold to release any suction that may be holding it in.
- Cut the coffee jelly into bite-sized cubes and serve it in glass cups or bowls, drizzled with the sweet cream.


Maya says
Could I use gelatin if I don’t like the texture of agar?
Marc Matsumoto says
Hi Maya, yes, it will work, but you'll probably need to adjust the amount of gelatin you use. Also, I think I know what you're talking about in terms of the texture of Agar, but if you use it sparingly (just enough to get the jelly to set) it has a similar melt-in-your-mouth texture to gelatin.
Kathy Stroup says
Wow, wired out of my skull after eating this! It was so delicious that I ended up eating twice as much coffee as I would normally drink. The interplay of the silky, creamy topping and the acidic, slightly bitter coffee was so engaging and addictive!
My jelly set a little too firm. I used a Thai brand that recommended on the packaging to use twice the amount called for in the recipe. I used the amount you suggested. Can't imagine what it would have been like with the package amount!
Next time I make this I'm going to use half decaffeinated coffee. Then maybe I'll be able to sleep! It's already 11 and I'm wide awake. Ate the jelly at 4.
Thanks for the wonderful recipe!😃🤎☕
Marc says
Yikes! I guess it's a little deceptive when you're eating coffee as opposed to drinking it. Hope you were able to get some sleep the next night!
Kathy Stroup says
Thanks for your reply. I did manage to get a few hours' sleep! I did make some half-caffeinated jelly and it was much better!😅 I had used some Jamaican Blue Mountain for the first batch, which is also super-caffeinated. This time I used regular coffee and decaf.
The agar agar I used was this brand: Golden Cup
https://www.sayweee.com/en/product/Golden-Cup-Agar-Agar-Powder/81523?trace_id=ba7f18b6-87e9-4b25-83f5-aa450f0d3d77
It's really inexpensive, and since it took so little of it to set the jelly, it will last a long time! I only needed 1 teaspoon, or 3 grams, to get a perfectly delicate jelly. If I needed it to sit awhile, I might go with 4 grams.
Now I'm eager to try this with other beverages! Black tea, green tea, horchata, but probably not jello shots!.😳 My husband suggested I make Gin and Lemon jelly, but I'd rather just have the drink.🍸
Our Summer just heated up, and it's going to be fun experimenting with this!
Marc says
Loooove the idea of turning horchata into a jelly! I think I'd enjoy gin and lemon jelly too, but that could be super dangerous😅
Jean says
Thank you for the recipe! My family and I love it! 😊
Marc Matsumoto says
You're welcome! I'm glad to hear it
Ariale says
hi ive just made this but i’d like to eat tomorrow morning, it’s already mostly hardened and i was wondering if it’s okay to leave over night? just worried it will over harden, it’s un covered in the fridge at the moment. thanks
Marc Matsumoto says
Hi Ariale, sorry I missed this. It should be okay for up to a few days in the fridge. I would recommend covering it though once it's cooled down. If it ends up too hard, try reducing the amount of agar, unfortunately the thickening power of different brands of agar varies so you may need to try making it a few times before you get the texture you want for the brand of agar you're using.
Sabena Sabena says
Simple,light and so satifying dessert after a heavy meal. Genius idea! Love it so much. Great recipe
Marc Matsumoto says
Thanks Sabena, I'm glad to hear you enjoyed it! Have a great week😀